Category Archives: sewing and crafts stuff

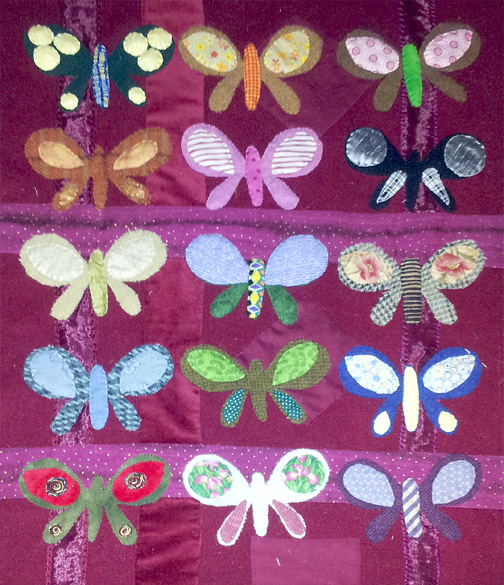
Sue Spargo Butterflies

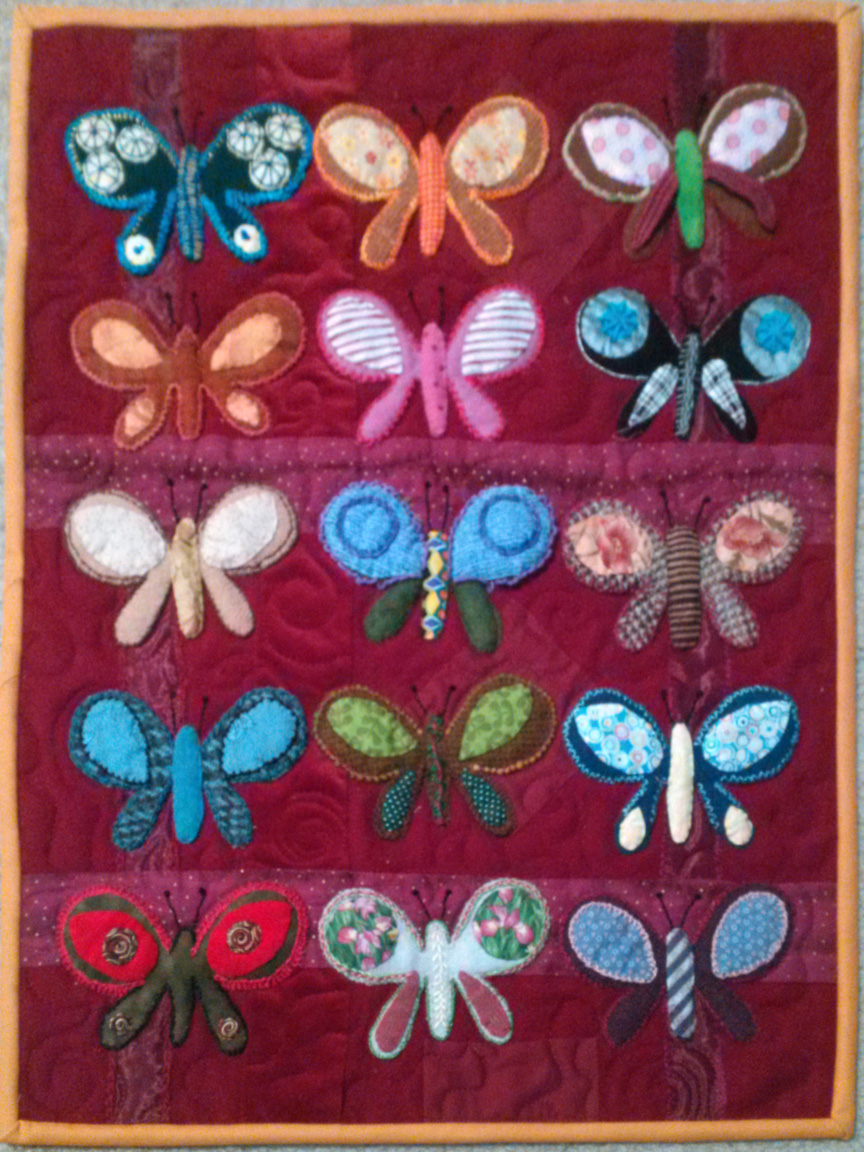
Previously I have shown you my butterflies that I am or was doing from Sue Spargo’s Craftsy class. It is now a finished project and I love how it came out. I really love her style and techniques and hope to take a class from her soon. In fact I am signed up to take a class from her next year, but I really would like for it to be sooner!

To me it is like making a crazy quilt but with wool applique instead of the fancy brocades and silks. You wrack your brain to figure out what to do next to decorate what you have in front of you and then you start to work. Only, as you work, you make changes in the planned stitches so you never know what you may end up with.

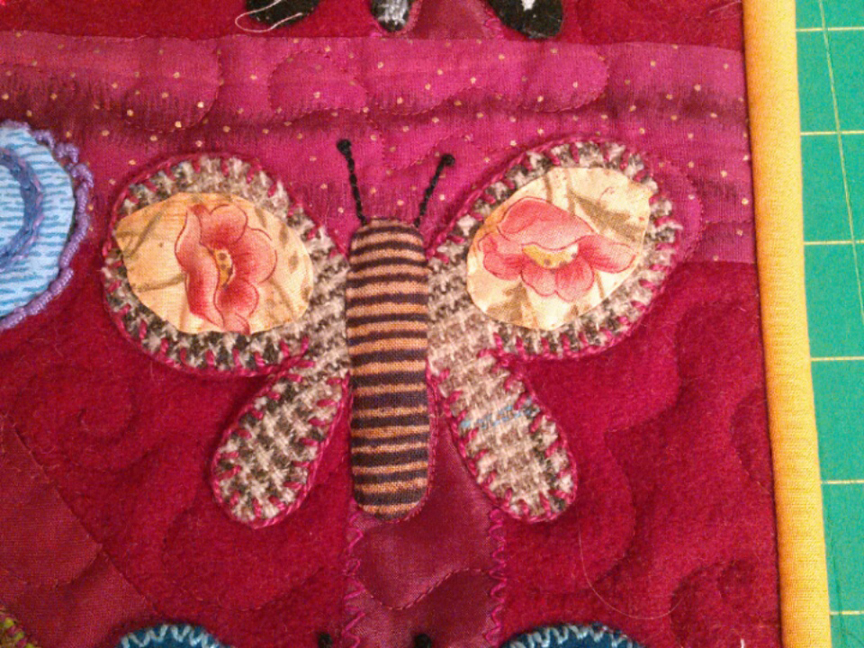
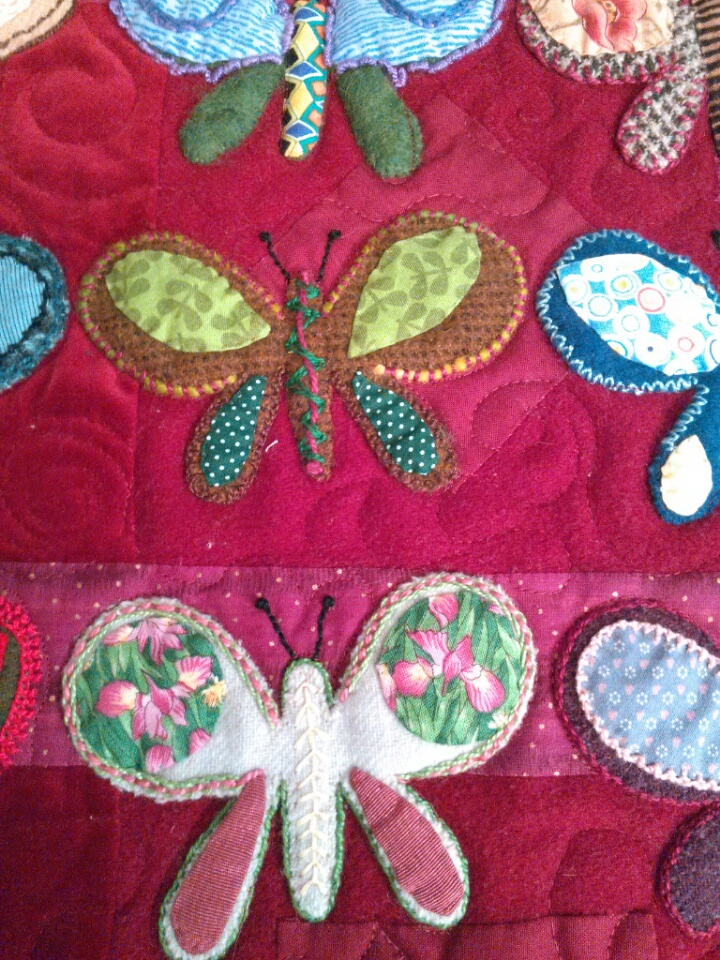
Here are some pics from the completed butterfly project.

The completed project

The completed project


My favorite butterfly

My favorite butterfly

several more butterflies

several more butterflies

Perfection

I have always been haunted by the need for perfection in my crafting. If it is not perfect, then it is not good has been my attitude. Not such a good attitude but it does not apply to other people’s work just mine. Strange that I am just fine with other people’s work not being perfect and will even purchase work by other people that is not perfect yet I am unhappy with imperfection in my own work.

This does not mean I have achieved perfection in my work, just that I get very unhappy with my work if it is not perfect.

So when I found this tutorial about making the perfect loop in beading I just had to try it out.Here is the link:

How to Make a Perfect Simple Loop

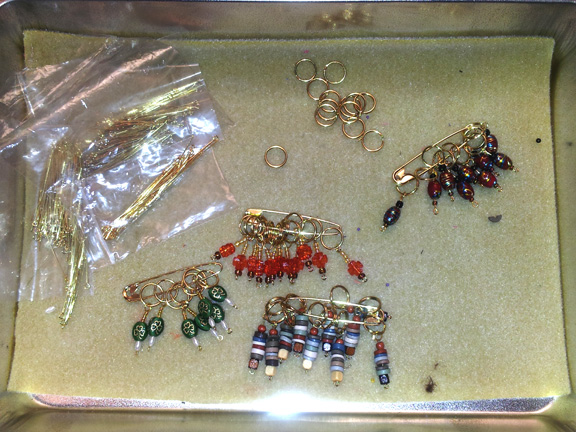
I decided to practice by making knitting stitch markers. It has been on my mind to make some for a while now so combining the two goals was a great idea. I loved how the tutorial broke it down into very simpleĀ  steps and it really helped. I found I had been making my loops in a different way – making them this way increased the number of perfect loops I was able to make.

Of course not all the loops came out perfect and I had to make a bunch over but overall I was please with the outcome.

But now I have too many stitch markers. I might just make some more for retreat goodies. . . .

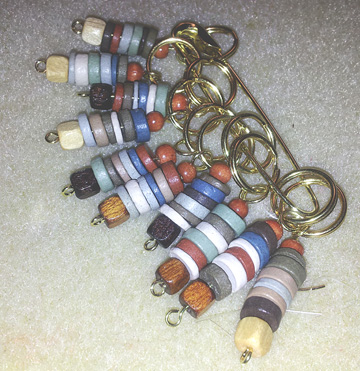
Here is what I made:

workarea

My favorites were the orange ones and the clay bead ones.

orangemarkers

claymarkers

Quickie Tissue Holder

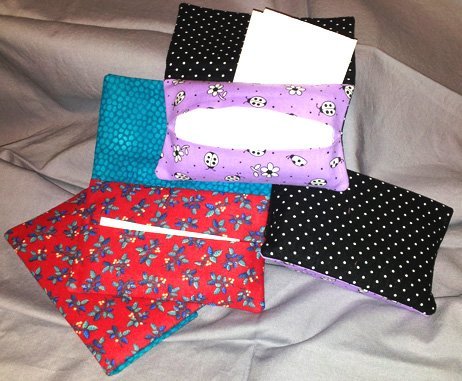
For the retreat I went to the last weekend of January and for the ladies in the Sew and Quilt club I made some tissue holders with pockets. They are such a fun thing to do and were so easy to make. It took me less than two hours to make about 26 of them. I impressed myself with this little giftie. It has a flap that folds over and covers the tissue and has an inside pocket behind the tissues. For mine, I inserted a zipper to hold the pocket closed and sewed a buttonhole and button to hold the flap closed. My purse can do a lot of damage to an open packet of tissues.

If you want the pattern the download link is below the picture.

Tissue Holders with Pockets

Tissue Holders with Pockets

[download id=”1044″]


PS please don’t share my patterns or download. Send your friends here to get their own. That way I know if they are useful to you and and will continue to make them available.


February’s Sew and Quilt Club

We had an awesome time at the Sew and Quilt club this past week. A few ladies were missing but with good reason so we forgave them – LOL

For those who did miss, the handout may be downloaded by clicking below.

[download id=”1037″]


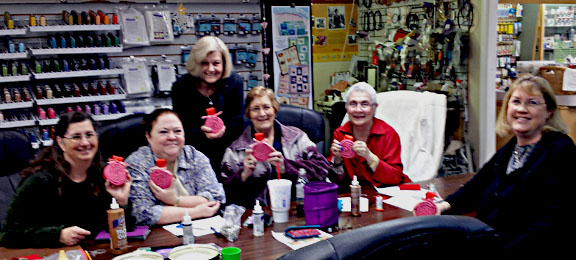
One of the things we did was make a sweeties a mug warmer for Valentine’s Day. I sewed tubes of red and white fabric at home. During the club we ladies turned the tubes right out and filled them partially with rice. Then we rolled up the tubes and hand stitched the back, attached a felt circle to the back with glue, added a ribbon and bow embellishment and ended up with a microwavable mug warmer.

We all had a good time making mug rugs for our sweeties.

We all had a good time making mug rugs for our sweeties.

An Organizer Book with options

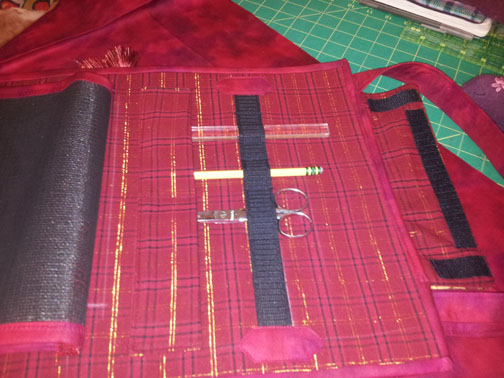
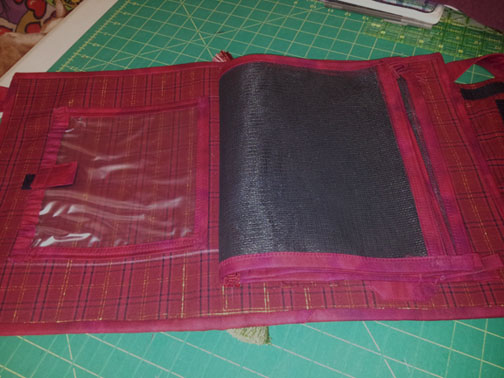
For Christmas I made my daughters some bags with pockets inside to use for first aid kits. But these are really too much work to make a bunch or to teach. So I made a different pattern that is more like a book instead of a bag. Of course, I had to make it fancy cause I just don’t know how to do it easy.

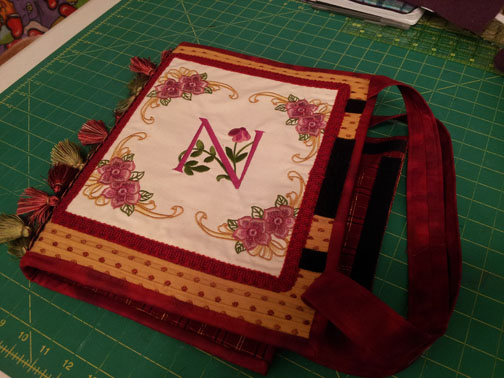
Organizer Book Front

The front of the book, notice the fancy tassels on the binding side.

Organizer Book back pocket

Organizer Book back pocket

Organizer book inside

Organizer Book with center screen pockets and front inside pocket

Meet Millie

Just recently I got back into embroidery. Are you like me and have periods of time when you concentrate on one skill or another? Well for me right now it is crewel embroidery and other fancy embroidery work. I am loving it, sitting in my chair and working away.

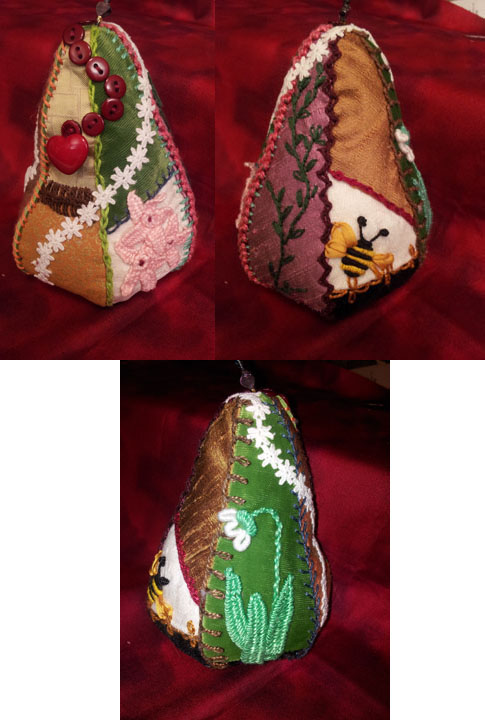
For a pincushion swap I made two pears made up in crazy quilting style. I have another one ready for the embroidery work. Here are some pics of those.

pearcushionall

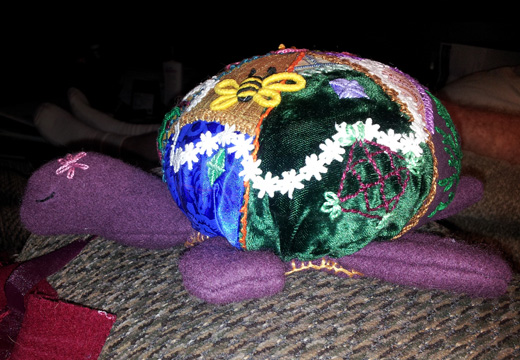
Then, I got an idea of how to make the embroidery work easier on myself. You see, to do the embroidery work on the pears, I sewed it all together except for the last seam. Then I had to struggle with the needle to get the knots and all hidden. I made a circle of pie shapes and embroidered that then all I had to do was gather the edges and pull them in to make a ball. It made a nice turtle shell for Millie. I think she came out so pretty. She sits on the arm of my chair and holds my pins. Her head and legs make a good place for my needles so they don’t get lost.


Millie the Pincushion

I love how she came out.

what I have been doing

In December I attended a retreat that was just wonderful. It was a all craft retreat and there were quilters there, scrapbookers, as well as a group of ladies who were doing a “Sue Circle”. That is to say they were all working on Sue Spargo embroidery work. They got my attention and made me hungry to come home and try some of the things they were doing.

Well, low and behold, Sue Spargo is teaching a Craftsy class and it was on sale as well. AWESOME! Of course I immediately signed up and the rest is history. I love it!

If you look up at the top of this page you can see a link to my crazy quilt that is an ongoing work in progress that I really don’t thing will ever get done as it is something you just continue to add to until there is not room for one more stitch. Anyway the embroidery work I do on it is really close to what I am doing with the Sue Spargo work.

I first made a small project and then made two pear pincushions for a swap and then got to work on the class project. I am loving it!

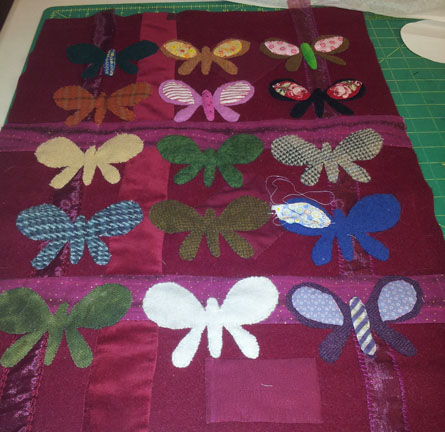
Here is the class project I am working on. I will post pics of the pear pincushions as soon as I hear that the recipients got them. I have completed more of it since the pic was taken and am almost finished with the applique part. Next comes the fun part of embroidery and embellishing.


Updated

Ready for the embroidery work

Sue Spargo Class project

Long way to go!

Babies!

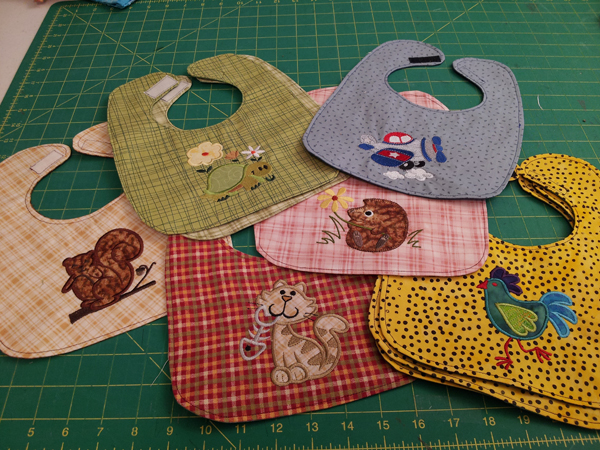
babybibs

It seems like we are having babies everywhere! At least on my side of the family. This year we are adding a total of four babies, three girls and one boy. The nieces and nephews have been busy!

Anyway, as the the self-designated quilter in the family I had to get busy and get some stuff done. Two quilts have been completed and mailed and now two more to do. One is in the works and almost done, the other is not really needed for another four months.

But quilts are not enough don’t you agree? So I got out the embroidery unit and worked up a batch of bibs. They were kinda fun to make, but I have already figured out a way to make it easier. (This coming month at the Sew and Quilt Club watch for a quickie way to make bibs! -will post here later about it.)

My favorite is the funky chicken bib. You can drop that into the deepest diaper bag and still be able to find it!


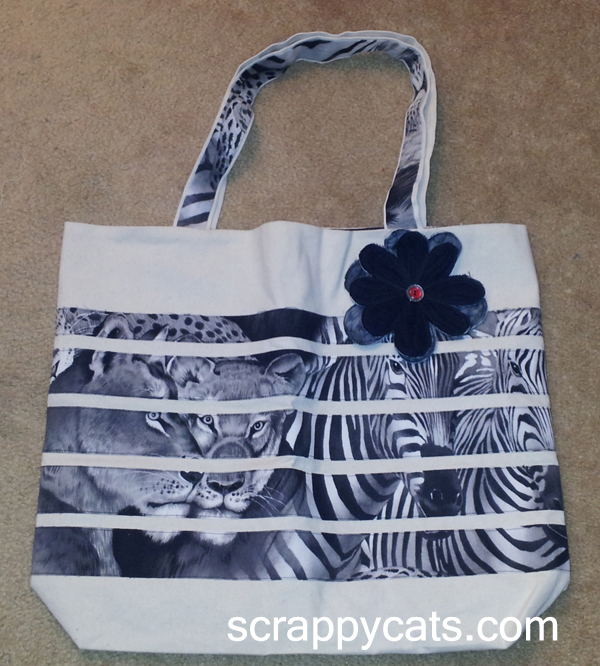
My Lion Bag

Strip Bag

Here is a cool bag I made a month or so ago. I got the idea out of a Home and Garden magazine my sister gave to me. (thanks sis!)

I had some fabric that I just loved but could not figure out how to use it in the best way. Part of the problem is I did not have very much of it. It was acquired through a mystery box sale on Ebay. Then I saw this idea and I love how it turned out.

Home and Garden said to fuse strips to a ready made canvas bag, but I wanted something a little bigger than what was available. Plus, I did not really want to spend anymore money on fabric at that time. Since I had some canvas on hand, I made the bag myself which meant I could also line the bag too.

First, you apply two sided fusible your fabric that you are going to strip. I used heat and bond, but you could also use wonder under and other two sided fusible. It is important to fuse first and then strip. Though if you forget, it can be applied afterward, but it would be a lot harder.

Once the fusible is on the fabric, cut it into strips anywhere from an inch to two inches wide. Cut the strips across the width of the fabric and keep them in order as you cut.

Then cut the bag body out of your main fabric and fuse the strips to the body of the bag. You will need to leave enough room on the bottom of the bag body for the part of the bag that folds under to become the bottom of the bag.

How wide you cut your strips and how many strips you cut depends on several things. If you are making a small bag, you might want to make thing strips. If your strip fabric has large images or flowers, you might want to make wider strips.

When fusing be sure that the strips are straight and that they line up at each end, so the the beginning of the strip is even with the end of the strips. You will be sewing the back bag seam together and you want to have these strips match.

Once you have theĀ  strips on your bag body, you can just sew up the bag in the usual way. Use a very simple bag pattern as you don’t want any seams or extra bag pieces to interfere with the impact.

I added a simple little flower to add a little zip to the bag and then it was done.
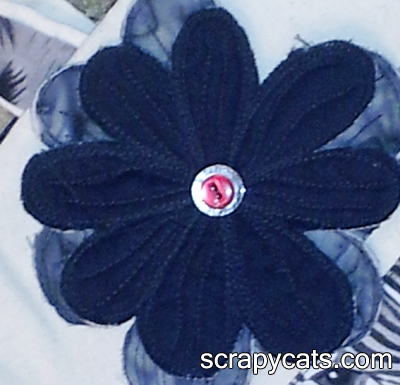
Flower for Bag

A little something for the honey

Here is a little bit of fun for your valentine honey. It’s a key chain or a fob to put on a memory stick or whatever.

marble keychain


Some of you may remember when we made necklaces out of tubes of fabric, marbles and beads. We would slip the marbles inside the tube and use beads that we slid on outside of the tube to hold the marbles in place. The resulting necklace was pretty heavy but we thought they were great.

This keychain is made out of a tube of fabric that has only three marbles inside and uses hex nuts instead of beads to hold the marbles in place.

For more detailed instructions, I created a pdf file for you to download. Click on the link below. You will need something to open up pdf files to read it.

Marble Keychain

« Older Entries